

 English
 Français
 Español
See Details
- Residential Energy Storage

- C&I BESS

- Large-Scale Centralized Energy storage

- Solar Panel

- Power Inverters

- Vehicle Lithium Battery


Industry News
Home / News / Industry News / Flexible Solar Panel Installation Guide: Step-by-Step Mounting & Wiring
Flexible Solar Panel Installation Guide: Step-by-Step Mounting & Wiring
Content
- 1 Why Installation Quality Determines Flexible Panel Performance
- 2 Before You Install: Tools, Materials, and Safety Checks
- 3 Step-by-Step Flexible Solar Panel Installation
- 4 Wiring and Electrical Configuration
- 5 Common Installation Mistakes and How to Avoid Them
- 6 Flexible vs. Rigid Panels: Which Should You Install?
- 7 Maintenance and Long-Term Care
- 8 Flexible Solar Panel Installation FAQ
- 9 Final Thoughts

You picked a flexible solar panel because it is light, bends over a curved RV roof or boat deck, and does not need a bulky rack. Then the box arrives, and the real project starts: where exactly to bond it, how to keep it cool, and how to wire it so the charge controller stays happy for the next ten years. The honest summary is that flexible panel installation is not technically hard, but it has very little tolerance for shortcuts. Clean the surface properly, use the right adhesive and airflow gap, size your cables correctly, and seal every entry point — do those four things and the panel will keep delivering for a decade or more.
This guide walks through the complete installation sequence — tools, surface prep, mounting, wiring, and maintenance — with the numbers and tolerances that separate a tidy install from a recurring leak.
Why Installation Quality Determines Flexible Panel Performance
The cells inside a flexible laminate are the same monocrystalline or polycrystalline cells used in rigid glass panels; what changes is the packaging. Instead of a glass front and aluminum frame, the cells are pressed between polymer skins on a thin metal back sheet. That construction gives you bending freedom, but it also changes how heat moves. A rigid panel sheds heat through its frame and standoff; a flexible panel glued flat to a roof has nowhere to shed it.
Cell temperature matters because output falls roughly 0.3-0.5% for every degree above 25°C. On a dark RV roof in summer, a well-bonded panel can easily sit 20-30°C above ambient, silently throwing away 10-15% of its rated power before shading is even factored in. Leaving a 5-10mm airflow gap under the panel reduces that loss significantly, and it lets moisture escape in winter. The same discipline applies to the surface under the panel: adhesive strength on a dirty, oxidized roof is a fraction of what it is on a properly prepared surface.
Field expectation: a 200W flexible panel with a 5-10mm airflow gap and clean bonding typically runs 10-15°C cooler and delivers 5-8% more daily energy than the identical panel laminated flat onto a dark roof with no ventilation gap.
Before You Install: Tools, Materials, and Safety Checks
Work through the checklist before you climb on the roof. A prepared installer finishes in about an hour; an unprepared one is still scraping off bad adhesive at sunset.
Materials you will need:
- A flexible panel matched to your system voltage — most RVs and small off-grid setups use 12V panels, while larger arrays with MPPT controllers accept 24V or 36V panels.
- An MPPT charge controller rated for the panel’s short-circuit current (Isc) with at least 25% headroom.
- UV-stable DC cable, 2.5mm² (approx. 14 AWG) for short runs and 4-6mm² (approx. 12-10 AWG) for longer runs.
- High-bond acrylic foam tape (VHB type) or polyurethane adhesive, plus the matching surface primer.
- Isopropyl alcohol (90% or stronger), lint-free cloths, and fine sandpaper for glossy gelcoat.
- A weatherproof cable gland, UV-stable conduit, and a tube of marine-grade sealant.
- An inline fuse or DC breaker sized at 1.25-1.56 times Isc.
- A multimeter to verify polarity and voltage before connecting.
Work in the shade or keep the panel covered while you handle it. In full sun, even a 100W panel can hold 20-25V at its open-circuit point, and a short across your meter probes or connectors gets dangerous quickly. If the panel is already wired to a battery, disconnect the battery first.
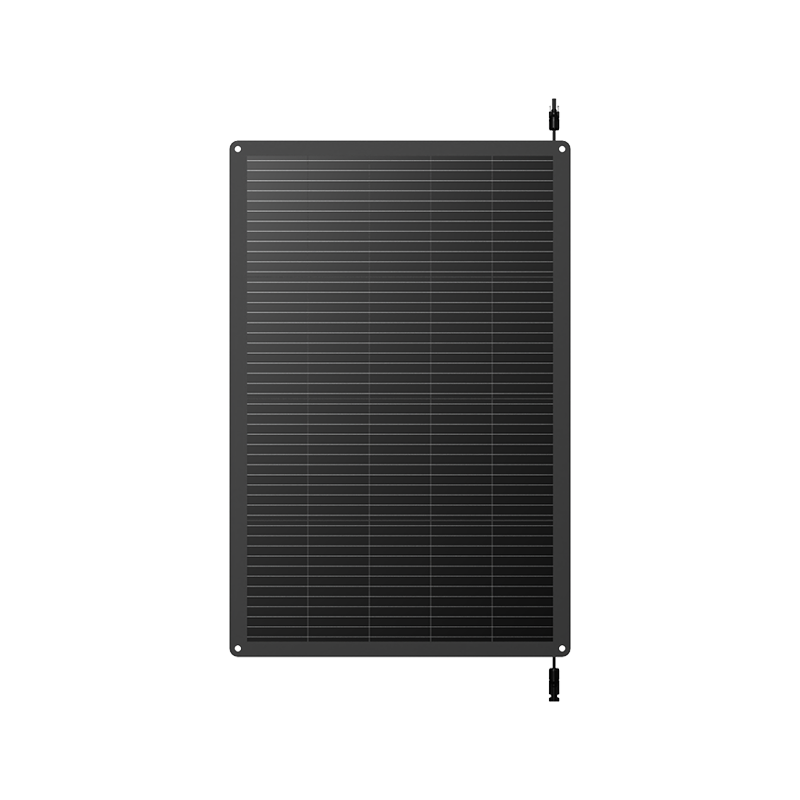
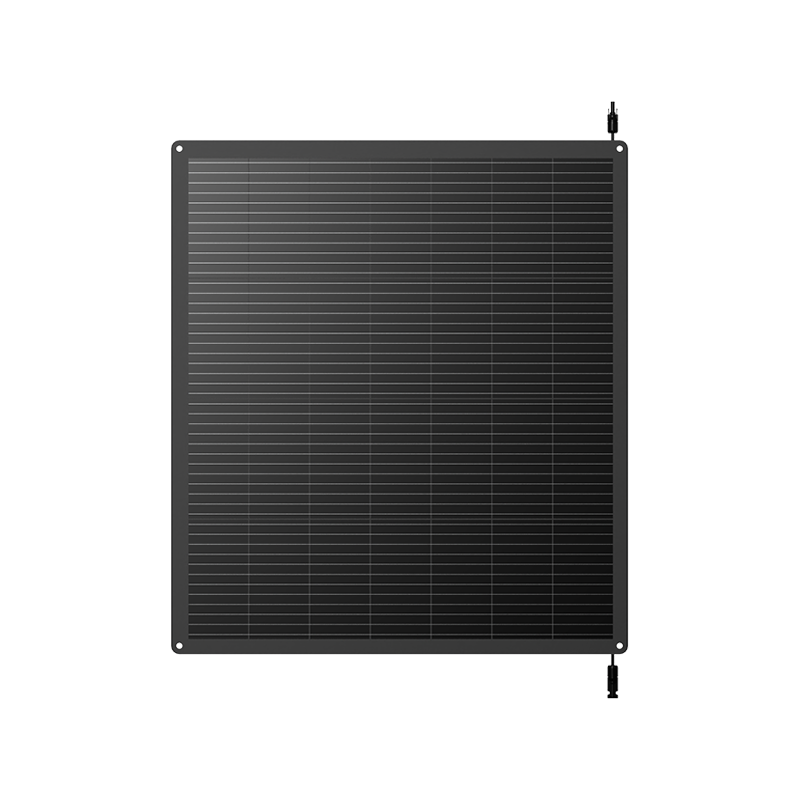
For a camper shell, kayak top, or small shed, a 100W panel keeps weight low and fits tightly curved surfaces comfortably.
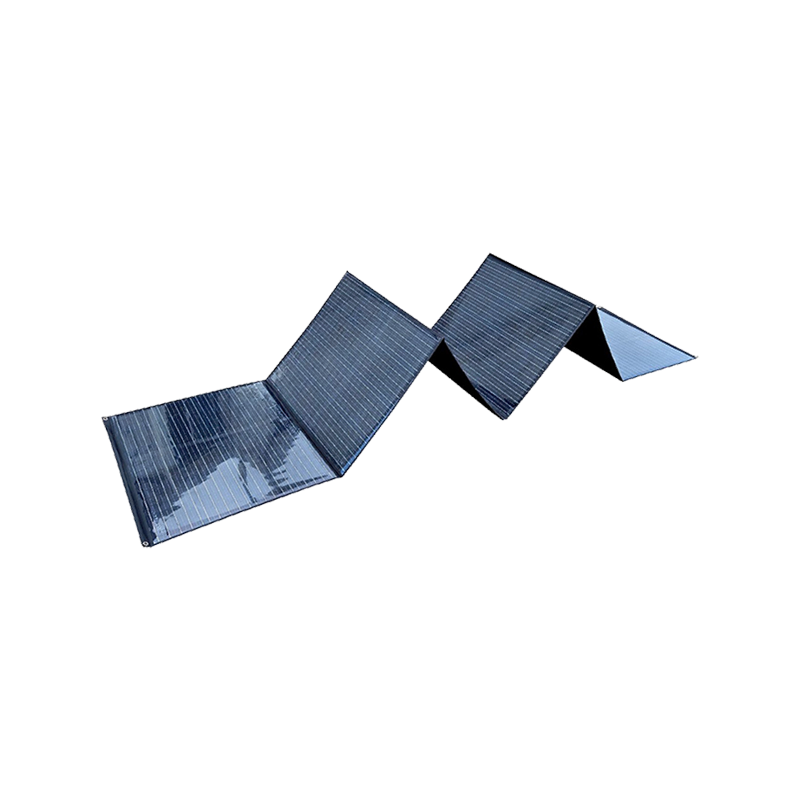
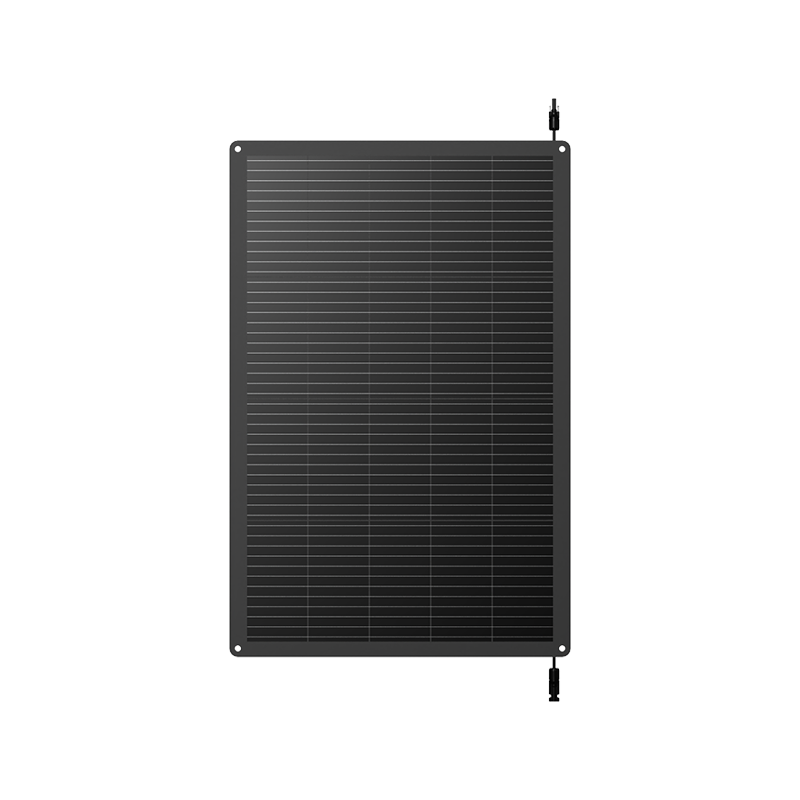 YH100W-10M Flexible Solar Panel for Curved RV and Boat SurfacesThis 100W bendable panel suits compact curved areas like camper shells and kayak tops. Its lightweight build and pre-drilled holes simplify installation while maintaining reliable output.View Product →
Step-by-Step Flexible Solar Panel Installation
The sequence below is the method used by installers who expect double-digit service life:
- Plan the layout. Dry-place the panel on the roof and check how it follows the curvature. Mark the position with painter’s tape, and leave at least 5-10mm of open space around the panel edge for thermal expansion and to prevent edge chafing.
- Clean and prep the surface. Wash the bonding area with a mild degreaser, rinse thoroughly, then wipe it down with isopropyl alcohol. Lightly scuff glossy gelcoat with 400-grit sandpaper. Apply the adhesive manufacturer’s primer to the exact area the tape or adhesive will cover.
- Test-fit and plan the cable path. Set the panel in place without adhesive and confirm the cable reaches the controller with a gentle service loop rather than tension. Mark the position of the cable entry gland and check that the junction box sits clear of roof seams.
- Apply the adhesive. For tape, run loops slightly inside the panel perimeter and add a zigzag strip down the middle; for liquid adhesive, lay 8-10mm beads in the same pattern. Do not cover the panel’s vent slots or bridge the junction box area.
- Press and cure. Set the panel into position and roll it with a plastic roller from the center outward to squeeze out trapped air. Hold it in place with light weights or straps for the full cure time — typically 24 to 72 hours, depending on temperature and humidity.
- Seal, route, and finish. Run a thin bead of UV-stable sealant around the panel perimeter, install the cable gland, and form a drip loop at the cable entry so water runs off rather than into the fitting.
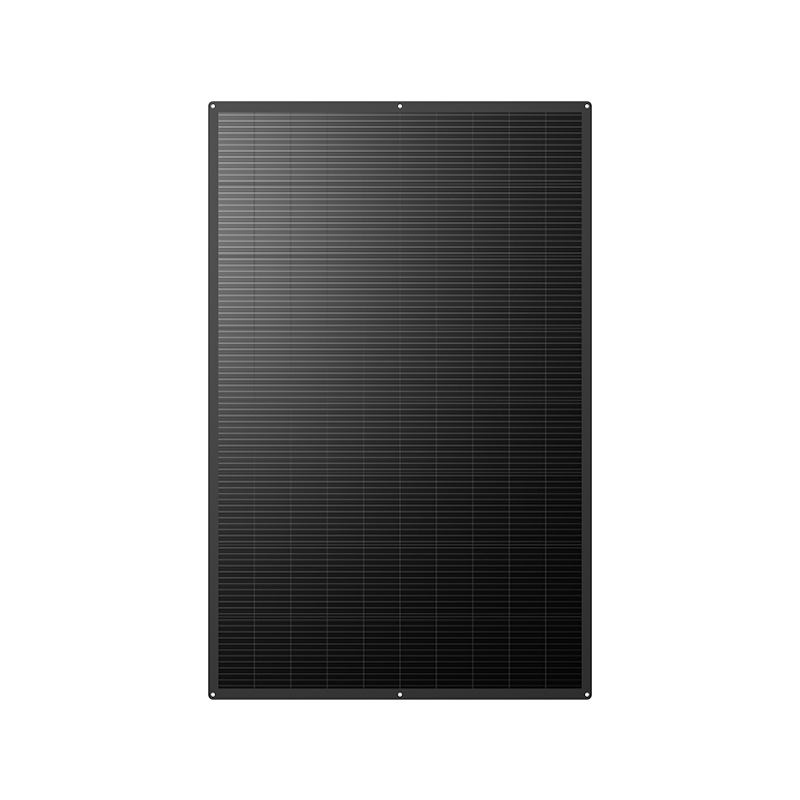
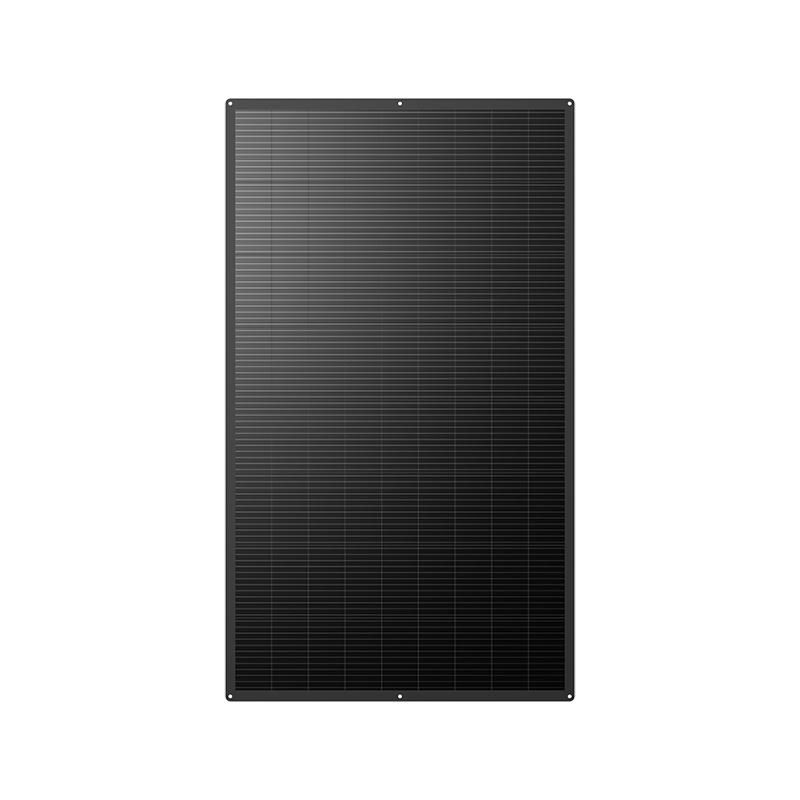
For most RV and trailer roofs, a durable 200W flexible panel offers the best trade-off between surface area and bendability, and it is the size we see in the majority of outdoor installs.
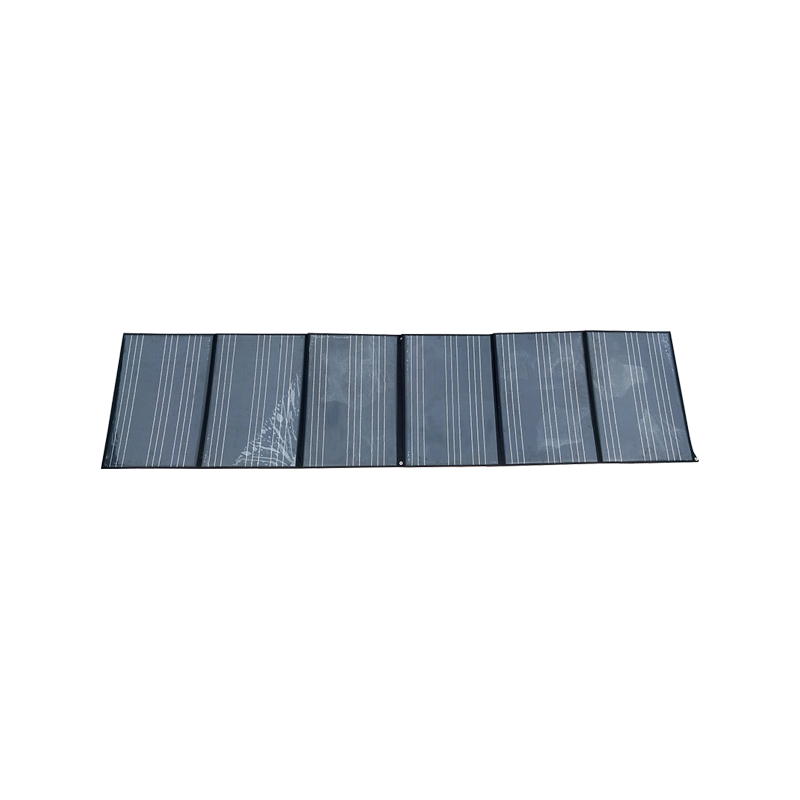
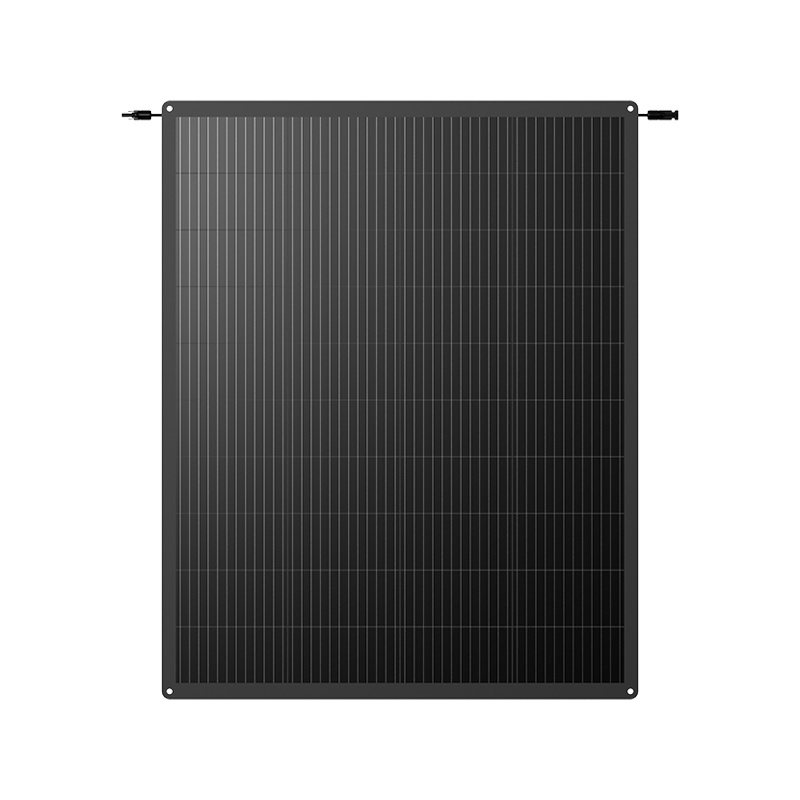 YH200W-20M Flexible Monocrystalline Panel Ideal for RV and Marine RoofsA popular choice for RV and trailer roofs, this 200W flexible module balances surface area and bendability. Its nine-layer reinforced construction endures outdoor stress while keeping installation easy.View Product →
Wiring and Electrical Configuration
Wire a single panel to its charge controller first, then scale up. For one 100-400W flexible panel on a 12V battery bank, the basic rules are simple: correct polarity, correct fuse, correct cable size.
Series and Parallel Configurations
If you add more panels, series wiring raises the string voltage and lets you use thinner cable — two 18V panels make roughly 36V at the same current — but the MPPT controller must be rated for the combined open-circuit voltage with cold-morning headroom. Parallel wiring keeps the voltage low and is easier to expand, but it demands heavier cable and one fuse per panel. Either way, connect the panel to the controller first, then connect the controller to the battery.
Cable Sizing
Undersized cable is the most common electrical failure in flexible-panel installs. It creates voltage drop, heat, and charge-controller readings that jump around. This table gives practical minimum sizes for 12V systems:
| Round-Trip Cable Run | Panel Current | Recommended Wire Size |
|---|---|---|
| Up to 3 m | Up to 10 A | 2.5 mm² (approx. 14 AWG) |
| Up to 5 m | Up to 10 A | 4 mm² (approx. 12 AWG) |
| Up to 3 m | 10-20 A | 4 mm² (approx. 12 AWG) |
| Up to 5 m | 10-20 A | 6 mm² (approx. 10 AWG) |
Round-trip length is the cable distance from panel to controller plus the return path to the battery. When in doubt, choose the next larger gauge.
Protection and connection. Install the fuse or DC breaker as close to the panel as practical — normally in a weatherproof box at the roof exit. Verify polarity with a multimeter before connecting; reversed wiring can damage the controller even if the panel current is low. Use mating MC4 connectors, and never mix different connector brands or generations on the same string.
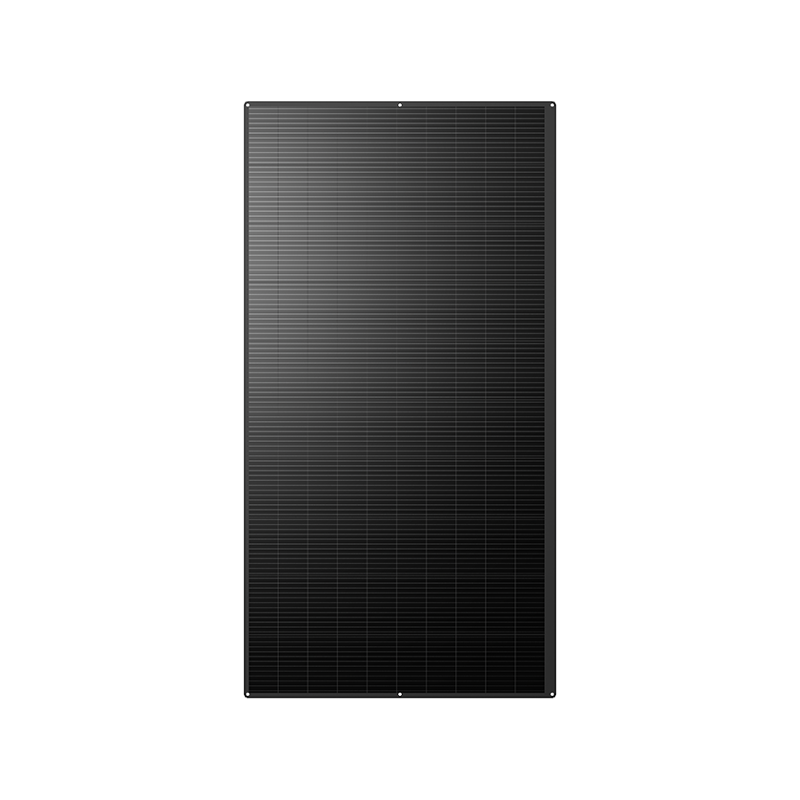
For a permanent shed, tiny-house, or workshop roof, an ultra-thin 400W panel reduces the number of modules and interconnects in the array, which means fewer joints that can corrode over the years.
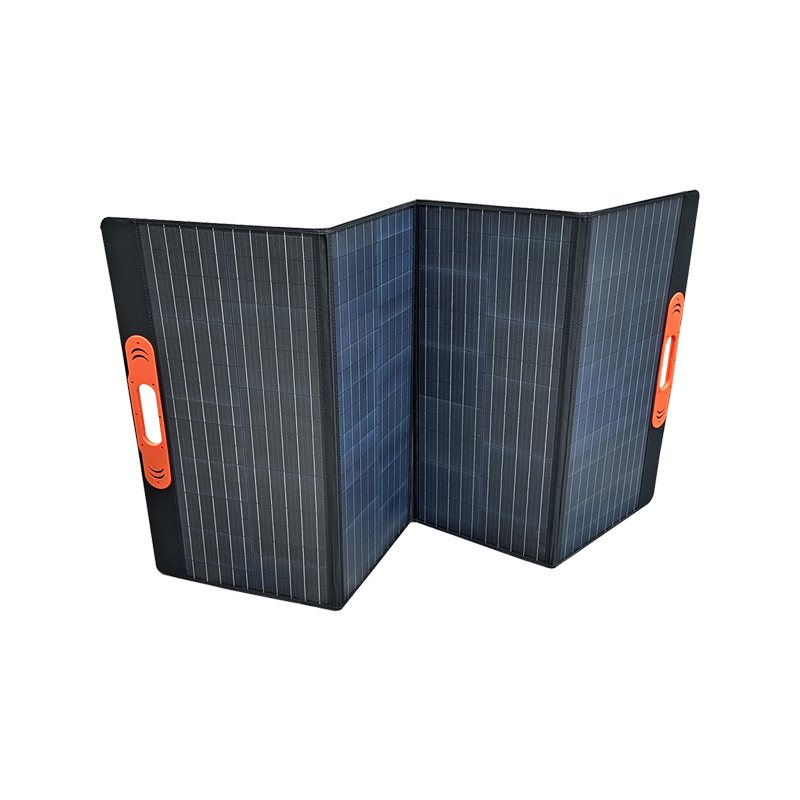
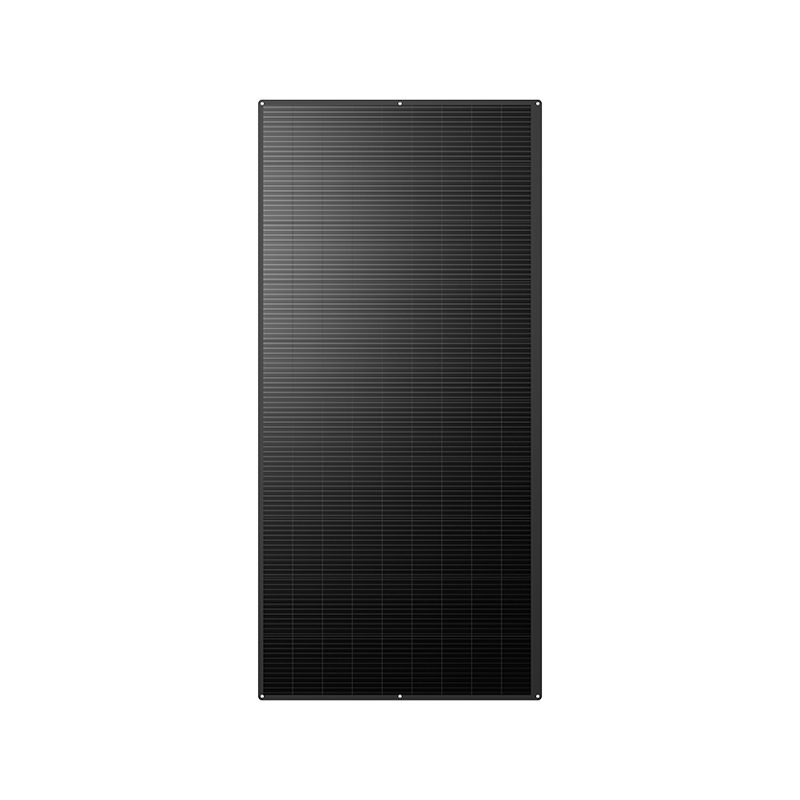 YH450W-45M High-Capacity Flexible Solar Panel for Yachts and Large RoofsOffering 450W in an ultra-thin flexible design, this panel reduces module count and connection points for permanent installations. Its durable layered build suits demanding environments.View Product →
For complete load calculations and battery sizing, our off-grid solar power system design guide walks through daily energy budgets, inverter selection, and storage requirements.
Common Installation Mistakes and How to Avoid Them
Even experienced RV technicians make these mistakes on the first flexible-panel install. Each one has an easy fix once you know where to look.
- No airflow gap. Bonding the panel flush boosts cell temperature and cuts output; use standoff strips or an offset tape layout to create 3-10mm of airflow.
- Overtightening fasteners. Flexible laminates are designed to bond, not clamp. If you must screw through the panel, use oversized washers and hand-tighten only.
- Skipping the primer. Gelcoat, painted metal, and wood all need the correct primer for the adhesive to reach its rated peel strength. Primer takes 60 seconds of work and makes years of difference.
- Blocking the junction box. Adhesive under the J-box traps moisture and prevents cable movement; keep that area clean and dry.
- Household silicone on penetrations. Most general-purpose silicones degrade quickly under UV. Use UV-stable marine sealant or butyl tape for roof entries.
- No drip loop. Water that runs down the cable and into the connector is a slow, silent corrosion source. A simple loop defeats it.
- Unfused parallel strings. A shorted panel in a parallel array draws current from the healthy panels; without fuses, the wire can overheat.
One habit that saves money: measure short-circuit current (Isc) under full sun before and after mounting. If current drops sharply after the install, a cell likely cracked during pressing, and the panel should be repositioned before the adhesive cures.
Flexible vs. Rigid Panels: Which Should You Install?
Choose flexible panels when the surface is curved, weight-limited, or low-profile: RV roofs, boat decks, van conversions, and flat home roofs with lightweight structures. Rigid panels win on open ground mounts and standard sloped roofs, where a frame and glass give better watts per dollar and higher hail resistance.
Flexible panels trade a small amount of peak efficiency for mounting freedom. On a home or garage roof, they eliminate racking loads and most roof penetrations — the main leak risk in residential solar. Homeowners planning a battery backup setup usually pair a flexible array with a hybrid inverter to keep the rooftop footprint low. You can see real residential combinations and storage pairings on our homeowners page.
Maintenance and Long-Term Care
Flexible panels are low maintenance, not no maintenance. Rinse them with a soft brush and clean water every two to three months, more often in dusty or coastal environments. Skip the pressure washer — high-pressure water can lift a laminate edge. Twice a year, inspect the edge sealant for hairline cracks and refresh it if needed. Check MC4 connectors for discoloration or heat marks, and confirm from the charge controller screen that the panel still reaches normal voltage on a clear day.
Flexible Solar Panel Installation FAQ
Q1: Can I mount a flexible solar panel directly on the roof without a rack?
Yes. That is the intended design. Clean and prime the surface, apply high-bond acrylic foam tape or polyurethane adhesive with a 3-10mm airflow offset, and let it cure fully. Racking is only necessary if you plan to remove the panel regularly or need an extreme tilt angle.
Q2: How much can I bend a flexible panel during installation?
Manufacturers list a minimum bend radius, usually in the 30-60cm range for 100-400W panels. Bend the panel gently in one direction and never fold or crease it. Dry-test the fit before applying adhesive so you know exactly how much curvature the surface requires.
Q3: Do I need a charge controller for a small flexible panel?
Yes, in almost every case. Even a 20-30W panel can overcharge a small battery when left connected for days with no load. Use a simple PWM controller for tiny panels and an MPPT from roughly 100W upward, especially on 12V systems.
Q4: What should I do if part of the panel is shaded at certain hours?
A shaded cell becomes a high-resistance valve that can overheat while blocking current from the other cells. Quality flexible panels include bypass diodes to mitigate this, but placement still matters: choose a roof position where a shadow sweeps across the full panel rather than parking on one strip, and keep nearby vents, antennae, and roof obstructions off the panel face.
Final Thoughts
A proper flexible-panel install is about ten minutes of honest preparation now, in exchange for years without edge lifting or connector corrosion. Do the layout and cable math on paper first, keep the panel indoors until the adhesive is ready, and respect the cure time. Paired with a correctly sized charge controller and battery, a well-installed flexible panel delivers reliable energy for mobile, marine, and compact off-grid systems through more than a decade of weather.
Related products
News
-
You picked a flexible solar panel because it is light, bends over a curved RV roof or boat deck, and does not need a bulky rack. Then the b...
READ MORE -
Your commercial electricity bill may look like it is driven by total kWh, but an increasing portion is determined by how fast you use that ...
READ MORE -
A textile plant in Yangon keeps sensitive production lines running through unstable grid supply. A warehouse in Singapore uses battery stor...
READ MORE -
Honle New Energy Technology Participates in Industry Exhibition From September 8 to 10, 2026, Honle New Energy Technology Co., Ltd. partic...
READ MORE -
You have mounted solar panels, wired a battery bank, and installed an inverter. Yet your batteries never seem to reach full charge, or they...
READ MORE

PRODUCTS
LINKS
CONTACT
- Landline: +86-021-56981116
- TEL: +86-13795289200
- Email: [email protected]
- Address: 301-09, Building 6, Zhangjiang Microelectronics Port, No.690 Bibo Road, Pudong District, Shanghai
Copyright © Honle New Energy Technology Co., Ltd.
All Rights Reserved.
Wholesale Solar Energy Equipment Suppliers

This site uses cookies. By continuing to browse the site you are agreeing to our use of cookies. For more details about cookies and how to manage them see our 《Privacy Policy》
Accept